REVIEW · CAPE TOWN
Cape Town: Table Mountain Hike via India Venster
Book on GetYourGuide →Operated by Atlantic Outlook · Bookable on GetYourGuide
Scrambling up Table Mountain is pure reward. This guided hike to the summit via India Venster mixes steep rock steps with big Cape Town viewpoints and photo pauses that keep you looking up, not just climbing. I especially like the hands-on scrambling sections and the way the trail gives you repeated chances to breathe and reset.
My second favorite part is the guide experience. With an English-speaking leader (often Fatima, among others), you get practical safety cues for tricky footing, plus real talk about the mountain’s wildlife and unique plants—along with coffee and homemade snacks like pastries baked for the day.
One drawback: this route demands sure-footed confidence on uneven ground. If you have back, heart, respiratory issues, mobility limitations, or you’re pregnant, or if you’re above 120 kg, this may not be the right choice—because parts of the climb use your hands.
In This Review
- India Venster in a Nutshell: What Makes It Worth Doing
- Meet at the Cableway Crossing: How the Hike Starts
- Why I Like the India Venster Route on Table Mountain
- Picnic Stops and Photo Breaks: The Climb Is Built for Views
- Cape Town From Above: Wildlife, Plants, and Wind Reality
- Summit Time: What Happens After the Hard Part
- The Descent: Platteklip Gorge and the Cable Car Option
- How Hard Is It, Really? Fitness and Safety Check
- Guides Make It a Real Experience: Safety, Stories, and Photo Help
- Price and Value: Is $93 Worth It?
- What to Bring (and What Not to Wear)
- Who Should Book This Table Mountain Hike via India Venster?
- Should You Book This Guided India Venster Hike?
- FAQ
- Where do we meet for the India Venster hike?
- How early should I arrive?
- How long is the hike?
- What group size is this?
- Is there an English-speaking guide?
- What’s included in the price?
- What’s not included, and is there a cable car down option?
- What should I bring, and what footwear is not allowed?
- Who should not book this hike?
- Can I cancel for a refund?
India Venster in a Nutshell: What Makes It Worth Doing
- India Venster rock-step climb with real scrambling, not just a stroll
- Picnic spots and frequent photo opportunities as you gain height
- Wildlife and plant spotting with your guide while you move at a steady pace
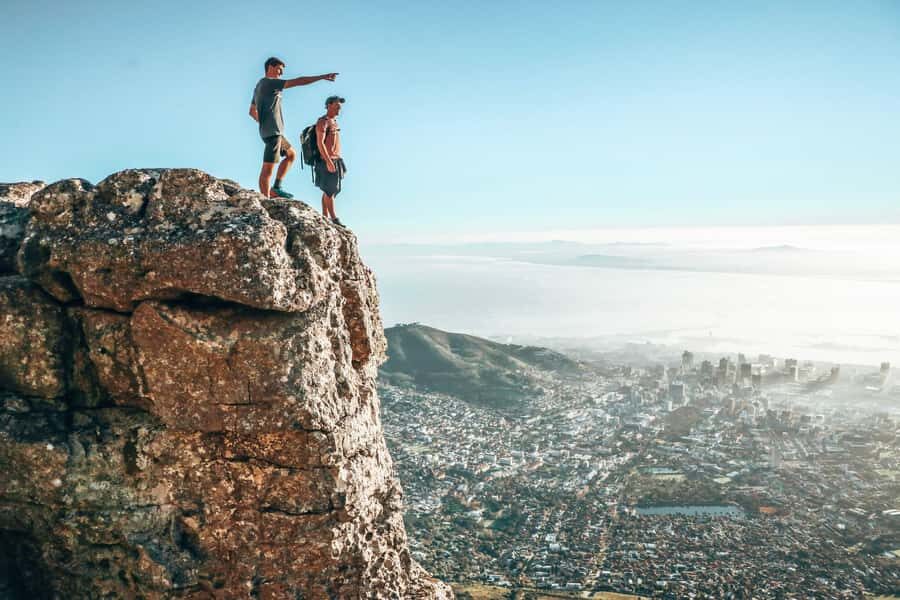
- Wide summit views over Cape Town and toward the sea after the 4-hour climb
- Flexible return options via Platteklip Gorge or other routes your guide recommends
- Included basics that matter: water, snacks, and emergency equipment
Meet at the Cableway Crossing: How the Hike Starts
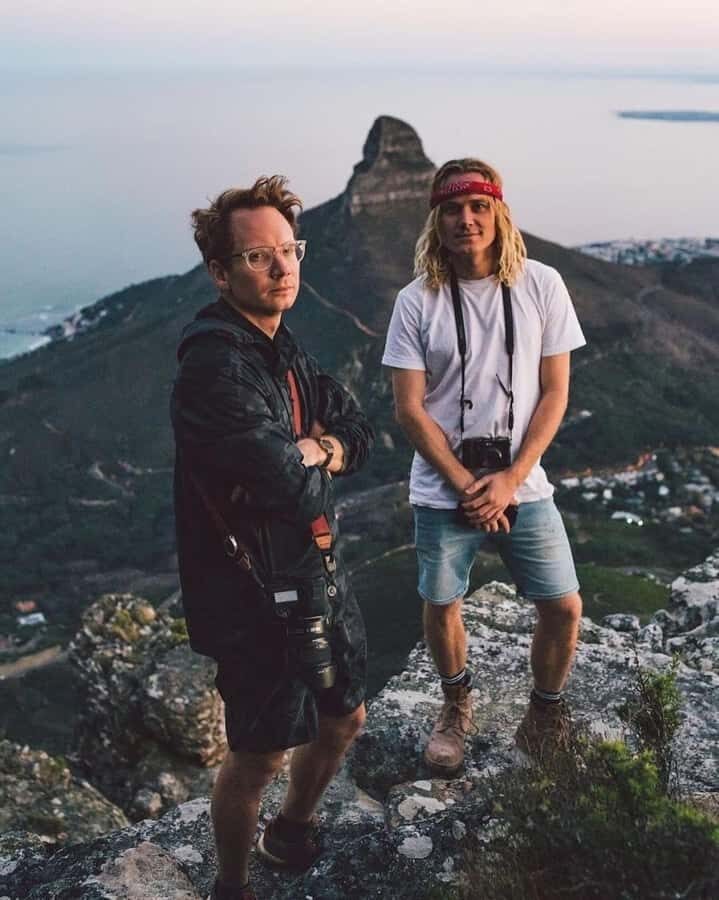
The tour begins near the Table Mountain Aerial Cableway. You’ll meet your guide about 300 feet before the cableway building at the pedestrian crossing—the exact trail start point is right there.
Arrive 5–10 minutes early. You’ll need a little time to fill out paperwork before you head onto the trail. If you’re rushing, you’ll feel it later when the ground gets uneven, so I’d rather show up a few minutes ahead and get settled.
Also remember: the activity’s listed price doesn’t include transport to the meeting point. Plan to get yourself there, then let the guide handle the mountain.
You can also read our reviews of more hiking tours in Cape Town


Why I Like the India Venster Route on Table Mountain
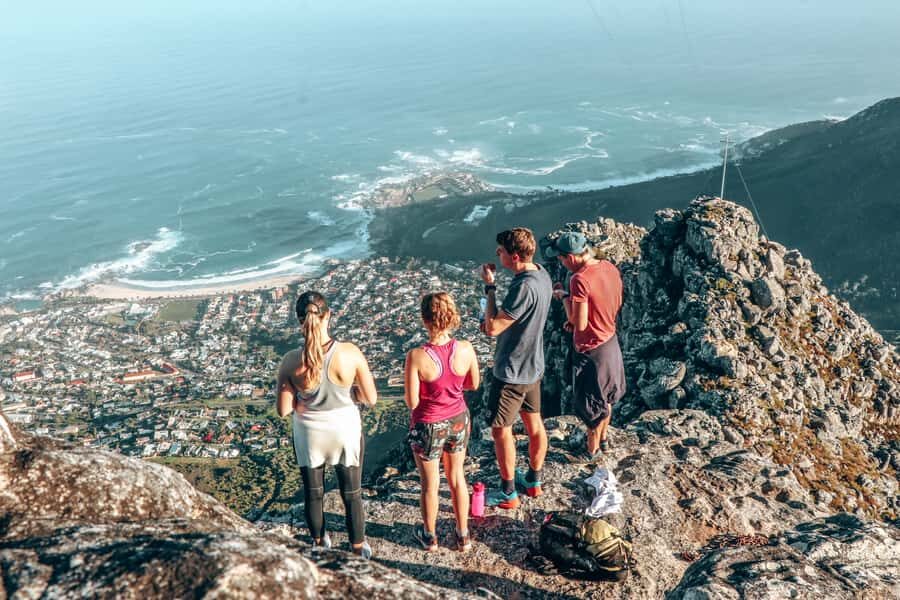
India Venster is one of those hikes that feels like Table Mountain without being a full-day ordeal. You’re out for about 4 hours, climbing slowly and steadily while gaining serious elevation and exposure.
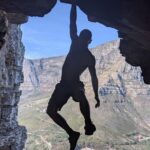
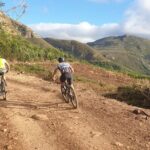
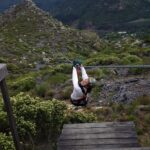
What you’ll notice fast is that this isn’t purely walking. The route includes steep rock steps and sections where you may need your hands to scramble up. That’s part of the appeal—if you enjoy a challenge—but it’s also the reason you should take it seriously.
Your pace is set for safety. You’re not sprinting up. You’re moving long enough to get your “working” legs, then stopping enough to look around and appreciate Cape Town from above.
Picnic Stops and Photo Breaks: The Climb Is Built for Views
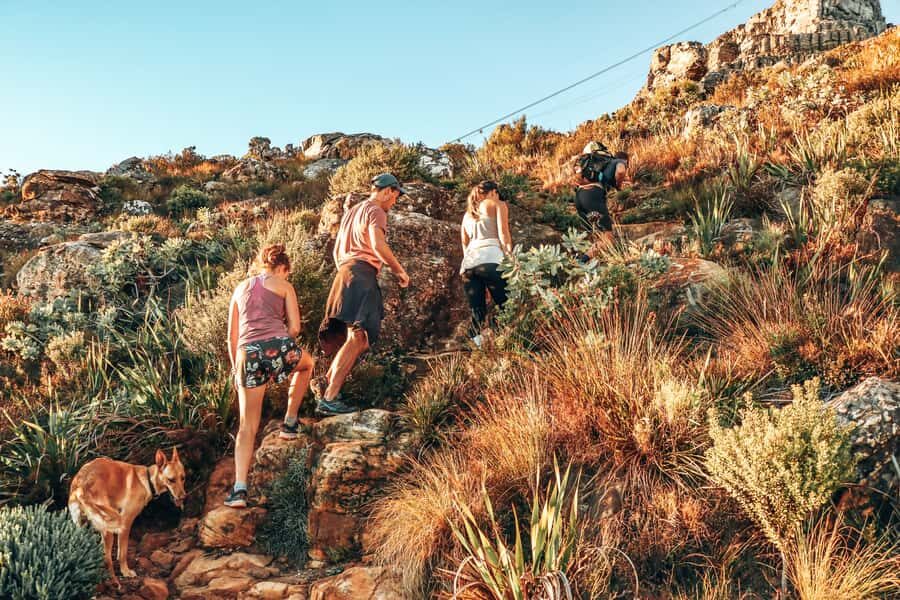
The hike climbs through areas that function like natural pauses—photo spots and picnic-worthy viewpoints along the way. Expect the trail to give you multiple moments where the guide calls for a stop, everyone gathers for a quick photo, and you refuel mentally before the next set of steps.
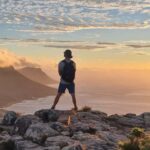
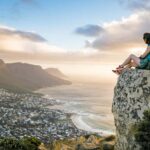
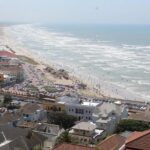
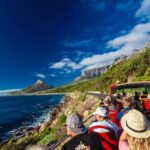
As you ascend, the city gradually comes into focus. First it’s shapes and angles. Then it’s the feeling of altitude: hills rolling toward the coast, streets shrinking below, and the sense that you’re seeing Cape Town the way locals must when they take in the view from high up.
Bring your camera, but also remember to protect your time on the trail. The best shots come when you pause, not when you scramble and hope. A good guide times stops so you’re not rushing your footing just to get one more picture.
Cape Town From Above: Wildlife, Plants, and Wind Reality
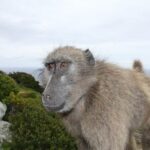
Table Mountain isn’t just rocks and views. Along the climb, your guide can point out local wildlife and talk about the unique plants that grow here. That kind of commentary turns the hike from exercise into learning—without slowing you down too much.
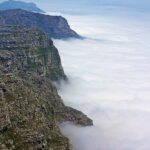
You should also be ready for weather to change fast. Strong winds can happen, and visibility can swing from clear to cloudy. On a windy or foggy day, don’t assume the hike is wasted. With guidance and patience, you may still get openings in the clouds where the view comes through in stretches.
One practical tip: keep water accessible and don’t let your camera drain your battery at every stop. When conditions improve, you’ll want enough power and attention to capture what you’re seeing, not just what you planned to see.
Summit Time: What Happens After the Hard Part
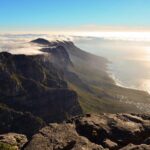
After about 4 hours of climbing, you reach the summit. This is when the hike shifts from effort to appreciation. You get time to relax and take in the panoramic sweep over Cape Town and out toward the sea.
This is also where you’ll feel the value of having a guide. You’re not just arriving at a view—you’re arriving informed. Your guide helps you read what you’re seeing and keeps the group moving at a comfortable pace so nobody falls behind.
Then it’s time to head down. The route back to the meeting point is typically via Platteklip Gorge, though your guide can discuss alternatives based on the group’s experience and ability. That matters because different people handle descent differently—slower downhills can be safer than forcing a pace.


The Descent: Platteklip Gorge and the Cable Car Option
The standard return described for this hike is down Platteklip Gorge to the meeting area. That’s the part of the day where you’ll use different muscles, and your balance matters more than you think.
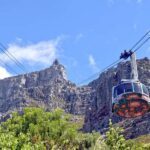
Some days, a cable car option down is available, but it’s not included. The information you have lists a cable car down ticket cost of R200 per adult (so it’s a separate purchase). I’d treat that as a contingency option: if conditions make the down route too risky or uncomfortable for your group, ask your guide what makes sense on the day.
The smart move is to stay flexible. You’re already doing a route with scrambling sections, so having a plan for the descent—even a backup—helps you enjoy the summit without worrying about the last hour.
How Hard Is It, Really? Fitness and Safety Check
This is a hike that requires a good fitness level and confidence on uneven ground. The fact that parts involve scrambling means the difference between a fun challenge and a miserable struggle can be your footwear and comfort level with handholds and steep steps.
It’s not for everyone. From the provided constraints, it’s not suitable for:
- pregnant women
- people with back problems
- people with mobility impairments
- people with heart problems
- people with respiratory issues
- people over 120 kg (264 lbs)
If you’re unsure, think honestly about your balance and your willingness to move carefully. A guide can make you safer, but they can’t turn a steep, uneven climb into a gentle walk.
Also, the route isn’t designed for fragile footwear. You’ll want comfortable clothing, too—things that won’t snag and will let you move your feet and hands naturally.
Guides Make It a Real Experience: Safety, Stories, and Photo Help
One reason people rate this hike so highly is the guide attention. The leaders emphasize safety on the scramble sections and give clear advice before you hit the rock steps.
Names that come up include Fatima, who’s described as an expert with an inviting style, and Dominic and Santie, each noted for guiding confidently—especially when conditions get challenging. If winds pick up, a calm guide makes a huge difference.
Another standout: photo and small comfort touches. You’ll often get photos taken along the way so you don’t have to constantly stop, fumble with your camera, and lose your rhythm. And snacks aren’t treated like an afterthought. There’s water and included snacks, and the experiences shared mention coffee and homemade pastries.
That combination—safe pacing, nature info, and real support—turns the hike into a day you’ll remember, not just photos of a mountain peak.
Price and Value: Is $93 Worth It?
At $93 per person for a 4-hour guided climb, you’re paying for more than a route map. You’re paying for:
- a live guide in English
- a small group limited to 10 people
- included water and snacks
- included emergency equipment
That’s the value angle. A guided scramble with summit views and safety support is harder to DIY safely, especially if you’re not used to steep, uneven footing. The guide also helps you move efficiently, so you don’t waste time second-guessing where to go.
Two things that affect true cost:
- transport to the meeting point is not included
- a cable car down ticket is not included (R200 per adult)
If you can get to the meeting easily and you’re comfortable paying a little extra if you choose the cable car down, the $93 price looks fair for what you’re getting.
What to Bring (and What Not to Wear)
For a smooth day, pack like you’re doing a real hike—because you are:
- comfortable shoes with grip
- camera (and keep it protected from dust and wind)
- water
- comfortable clothes you can move in
Don’t wear high-heeled shoes. Save the heels for dinner in town.
If you have dietary restrictions, the info you have says you should bring your own snacks. Included snacks may work for many people, but don’t gamble with allergies or strict diets.
Who Should Book This Table Mountain Hike via India Venster?
This hike is a great fit if you:
- want a half-day challenge with summit payoff
- are comfortable with steep steps and occasional scrambling
- want a guide who can explain the mountain’s wildlife and plants
- like getting photos taken during the climb so you can enjoy the view
It’s not the right pick if you need a low-impact walk, have significant medical concerns listed earlier, or you’re uncomfortable on uneven ground.
Should You Book This Guided India Venster Hike?
If you’re reasonably fit, steady on your feet, and you want a Table Mountain experience that feels active—not just scenic—this is an easy yes. The route is short enough to fit into a Cape Town itinerary, but it still delivers the kind of climb where you feel you earned the summit views.
If your idea of hiking is paved paths and gentle slopes, you may feel stressed by the scramble sections. In that case, you’re better off choosing a gentler route and saving India Venster for a day when you can move with confidence.
FAQ
Where do we meet for the India Venster hike?
Meet your guide at the pedestrian crossing about 300 feet before the Table Mountain Aerial Cableway building, where the trail starts.
How early should I arrive?
Arrive 5–10 minutes before the activity starts so you can complete the necessary paperwork.
How long is the hike?
The duration is about 4 hours.
What group size is this?
This is a small group limited to 10 participants.
Is there an English-speaking guide?
Yes, the tour has a live guide who speaks English.
What’s included in the price?
The price includes water, snacks, and all emergency equipment.
What’s not included, and is there a cable car down option?
Transport to the meeting point is not included. Also, a cable car ticket down the mountain is not included and costs R200 per adult.
What should I bring, and what footwear is not allowed?
Bring comfortable shoes, a camera, water, and comfortable clothes. High-heeled shoes are not allowed.
Who should not book this hike?
It’s not suitable for pregnant women, people with back problems, people with mobility impairments, people with heart problems, people with respiratory issues, or people over 120 kg (264 lbs).
Can I cancel for a refund?
Yes. Free cancellation is available up to 24 hours in advance for a full refund.